• Blog
  • Work
  • About

ADAD I. MORALES

VISUAL EFFECTS ARTIST

  • Blog
  • Work
  • About

Short Film Project : Dune Collector

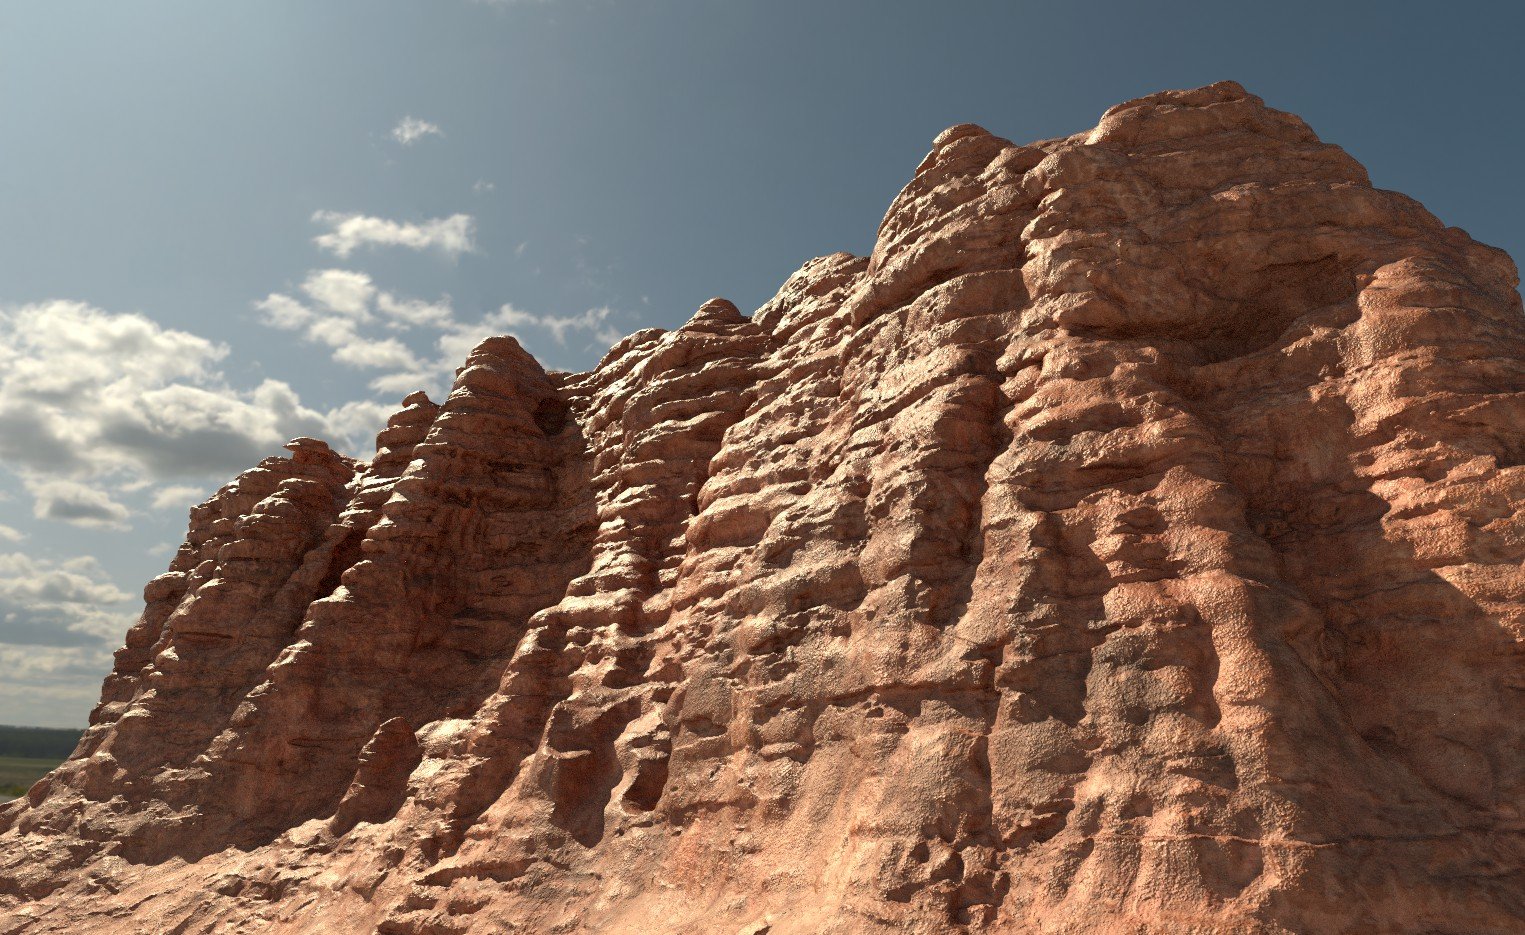
I’m back with some new test renders coming out of nuke/davinci , trying to match the color grade from the original movie as well as try out a new lighting scenario more central to my short story.


I’ve also 3d printed some custom props! The Crysknife is unique to its wielder so I’ve decided to make a new custom unique design for my character.

View fullsize cd2ce608-202e-4c21-8a15-82c97103544c.jpg
View fullsize daf990a8-e81f-41f2-852f-223db41b3bf1.jpg
View fullsize ae71200d-cdd6-42e6-9ad2-7331a0d3e9dc.jpg

The next prop was the paracompass, briefly seen in the film but important to have as part of the fremkit when traversing the deep desert.

View fullsize a70f8fac-763d-46e0-abd3-ab02f36d18d3.jpg
View fullsize 9fce8f75-fb86-4772-9a0d-6b1e6f45103c.jpg

The props will need to be painted soon which is one of my next steps after completing the stillsuit chest piece, more updates soon.


Monday 09.19.22
Posted by Adad Morales
 

Short Film Project : Dune Collector

I’ve been dabbling lately in film projects ever since I had a story idea based off Frank Herbert’s Dune. The latest film from Dennis Villeneuve was nothing short of a masterpiece and has greatly inspired me to pick up the camera.

I’ve been working on a 10 min tops screenplay for my story , a fremen warrior on a mission in the deep desert (not going to spoil more! The stillsuit is a work in progress as I type this , a combination of foam and glue as well as 3d printed pieces to top it off have all been a side hobby for the past 6 months.

With Unreal 5 and Lumen , I knew I had to create a portion of Wadi Rum, or at least a set that resembles the geological characteristics of Wadi Rum. This has sent me down a Houdini procedural generation rabbit hole for Wadi Rum style butte and rocks. Plenty of photo reference has been gathered and I was quickly able to get results through a combination of Houdini and Substance.

View fullsize Wadi_Rum_Butte_Procedural_Test.jpg
View fullsize Wadi_Rum_Butte_Procedural_Test_02.jpg
View fullsize Wadi_Rum_Butte_0_2.jpg
View fullsize Wadi_Rum_Butte_0_3.jpg

Throw the results into Unreal and some quick dynamic sky lighting and we can check out the results.

View fullsize HighresScreenshot00033.png
View fullsize HighresScreenshot_2022.07.16-02.42.58.png
View fullsize HighresScreenshot00032.png
View fullsize HighresScreenshot00030.png
View fullsize ScreenShot00025.png
View fullsize ScreenShot00020.png
View fullsize ScreenShot00007.png
View fullsize ScreenShot00018.png

Not to shabby, I’m continuing with experimenting with getting a few more details out of Houdini / Nanite, the terrain is going to be a next step , currently in order to get displacement we have to use the “virtual height mesh” which has been a bit finicky to work with , especially when it comes to texture resolution quality.


Ill be back with more updates and some 3d printed props!

Thanks!


tags: Dune, Unreal 5, Nanite, Houdini, Substance
Wednesday 09.14.22
Posted by Adad Morales
 

Dissecting the "Hiss" VFX in Control

Ever since the launch of Control I have been extremely curious to figure out how they achieved the hiss effect. We had glimpses of the tech behind it in the VFX Breakdown reel from Remedy that reveal to us some of the techniques.

After the launch of the game I was curious to try this out myself, it lead me down a road of fluid simulations, render targets, data capturing and a whole other slew of rendering areas that I was not familiar with.

Lets get started with Control

Hiss effect in Control

Hiss effect in Control

Buffer View

Buffer View

Another debug view

Another debug view

Final Post

Final Post

From the break down we are told they are using 2D Fluid solvers to achieve the look with added filters for the final touch. From a basic view there’s particles that fly off an enemy after killed, these particles inject themselves into a fluid render target, they themselves are fluid sources as well as velocity sources. This seems simple enough for the particle examples but what about the Geometry versions?

Geometry versions , in case of the moving hiss wall, (the wall with the cubes constantly moving), my guess is there’s a source material applied to this mesh, the source mask is the source for the fluid solver and the geometry velocity from the moving cubes is injected into the fluid target (all a theory , but from the looks of the render doc break down, this seems to be the case). Images below show all the Buffers out of RenderDoc

Final Output

Final Output

FluidSourceMask.jpg
GeoVel.jpg
Downsized Velocity for Variations

Downsized Velocity for Variations

The fluid source mask is an interesting target, from what I gather, there was an additional mask texture applied to the mesh/material, I would imagine with a sort of tagging system you can have the fluid solver only inject the information from this material.

Lets move on to the Fluid Targets, the next following images show the different fluid channels

FluidVel.jpg
FluidPressure.jpg
FluidDivergence.jpg
FluidDepthProjection.jpg

Really interesting results and we can get a glimpse of how its all being combined in the end, there was a few other render targets I noticed but nothing that stood out, one was called “Launch Blocker” that was a keyed out silhouette of the character Jessse (the protagonist in Control), my initial guess was that this was a sort of source mask for the fluid, but i don’t believe that's the case (I could be wrong tho!).

Unity Test

Soon after the launch of the game I quickly dove into tests with Unity, at the time I knew there were many examples of 2d fluid solvers on github and I decided to try some of them out, after all you would need the basis of a fluid solver to achieve the effect.

My first test involved just getting a fluid solver on a material with a simple camera facing quad, the fluid would be filled with the mouse as a source point. A little of some shader/material tweaking and we get a cool result.

At this point I wanted to move onto injecting particles as sources but this proved more difficult and I slowly became busy with work and the project became saved to my external harddrive not knowing when it would see the light of day again.


Enter Niagara Grid Solvers

With the release of Unreal 4.25/26, Niagara started incorporating Grid2d and Simulation Stages, this made is available for us to more easily created fluid solvers with grid 2d data collection.

A lot of these examples can be seen by Asher Zhu’s presentation here https://www.youtube.com/watch?v=-cKgZrrBJ2w.

With this in mind I quickly was excited to come back to the Hiss Effect project, only this time in Unreal, with the new Simulation Stages, this made it a bit easier on the artist side to inject different data into these fluid simulations, as well as using niagara’s gas source to inject particle position and data. At the time of me writing this Ive been able to get a few tests of the “Hiss” Effect stood up , in the end itll be interesting to figure out how to properly apply this to the full screen and reproject the depth data onto the fluid sim.

Whats Next?

  • Look into projecting the depth target onto the fluid (I believe this was mentioned in the breakdown video)

  • Look into applying the geometry velocity buffer to the fluid as well (look into gbuffer decodes)

  • Project the result into screenspace and see what happens

This is all an ongoing WIP, if you have an ideas and want to share thoughts , feel free to leave a comment :)

Thank you!

-A

Hiss VFX Wip using Grid2d Solvers from Adad Fernando Morales on Vimeo.

Hiss VFX Wip using Grid2d Solvers part 2 from Adad Fernando Morales on Vimeo.


tags: VFX, Control, Realtime
Monday 12.28.20
Posted by Adad Morales
Comments: 5
 

Copyright © 2011-2016 by Adad I. Morales, All Rights Reserved